1. Start by popping the hood on your truck and unpackaging your switch.
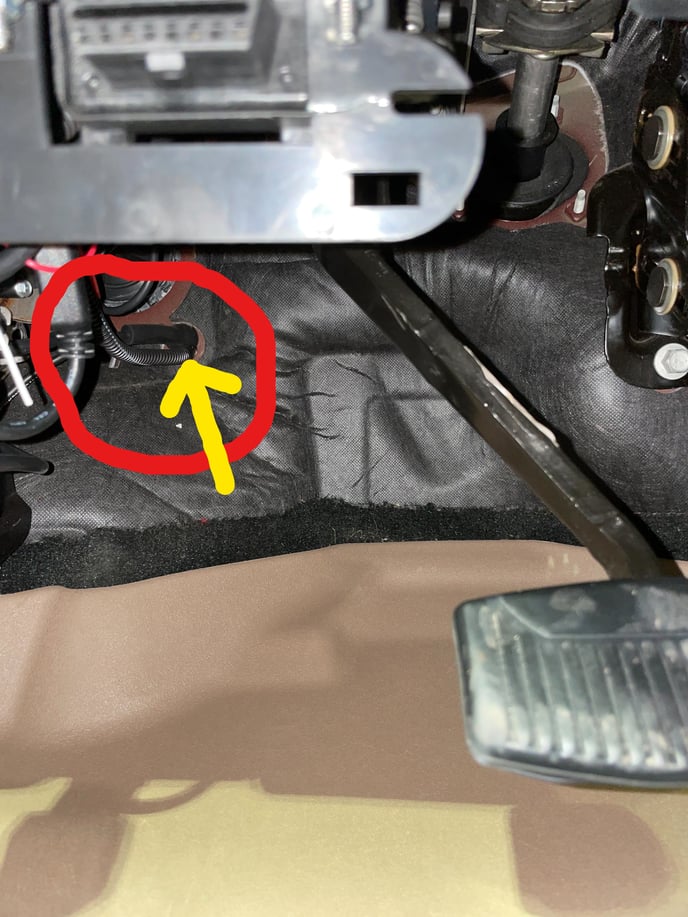
2. Locate the hood release cable where it is fed through the firewall.
3. Pull the hood release grommet out of the firewall.
4. Use a coat hanger or extra piece of wire to feed into the cab of the truck from the engine bay through the same hole the hood release cable is fed through.
5. Inside the cab, locate the coat hanger/wire and tape switch wire ends to the end of your hanger/wire.
6. Pull the hanger/wire into the engine bay with the switch wires connected.
7. Untape the switch wires from the hanger/wire.
8. Using the supplied connector, pin switch wires into the connector. The single brown wire goes to the female connector, on the outside edge open pin position. The split wire will go to the male and female connector. One end will go to the female connector in the middle open pin position, the other will go to the male connector, with the yellow lock facing up, the pin will go into the center open pin position. Once the male side of the supplied connector has been pinned, slide the blue lock mechanism over in order to lock pins into the connector.
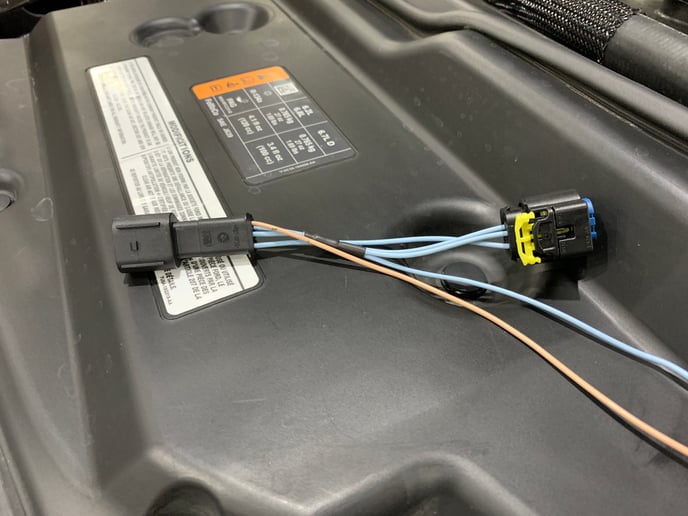
9. Once the switch has been pinned to the supplied connector, disconnect the factory harness from the fuel temp/pressure sensor.
10. Plug one end of the switch connector into the factory fuel temp/pressure sensor and then plug the factory harness into the other end of the switch connector.

11. Place conduit supplied with the switch over the wires to protect.
12. Put a small slit in the hood release grommet for the wires to run through and then reinstall the hood release grommet.
13. Find a spot inside the cab to mount your switch.
If you have any further questions or didn't find an answer to the question you had in this article, click here and fill out the form and one of our Remote Support experts will be in contact with you.