-jpg.jpeg)
1. Start by popping the hood on your truck and unpackaging your switch.

2. Find a spot inside the cab to mount your switch.*The Calibrated Power DIAL Bracket makes for a nice easy install, with no additional holes drilled in your dash.
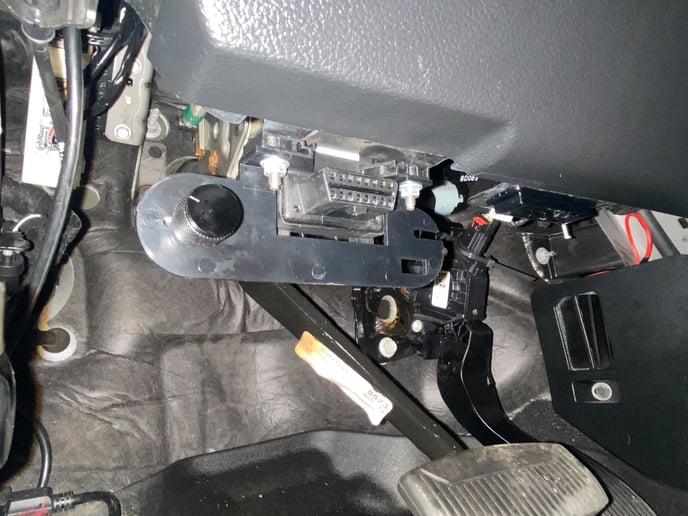
3. Locate the hood release cable where it is fed through the firewall behind the brake pedal.
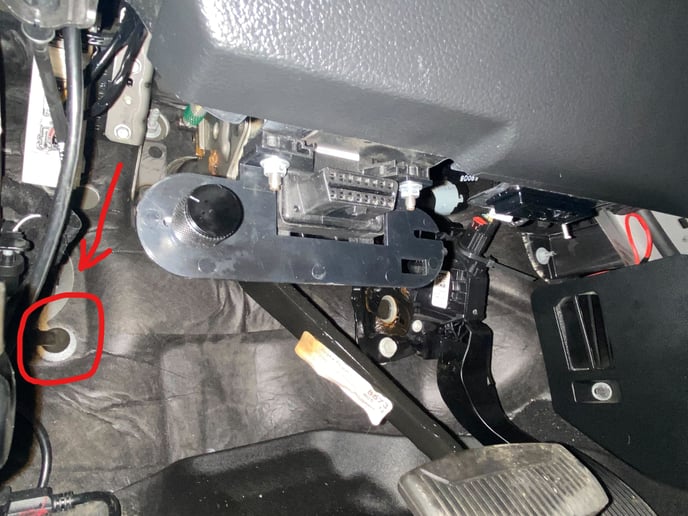
4. Using a razor cut a slit into the hood release grommet on the firewall inside of the cab.
5. Inside the cab, locate a coat hanger/wire to use for feeding the wires into the engine bay, tape the switch wire ends to the end of your hanger/wire.
6. Pull the hanger/wire into the engine bay through the slit you cut in the grommet with the switch wires connected
7. After the coat hanger and wires are fed into the engine bay untape the switch wires from the hanger/wire
8. Place conduit supplied with the switch over the wires to protect them.
9. Using the supplied connector, pin switch wires into the connector. There are only 2 wires that need to be connected and they can go in either hole.
-jpg-1.jpeg)
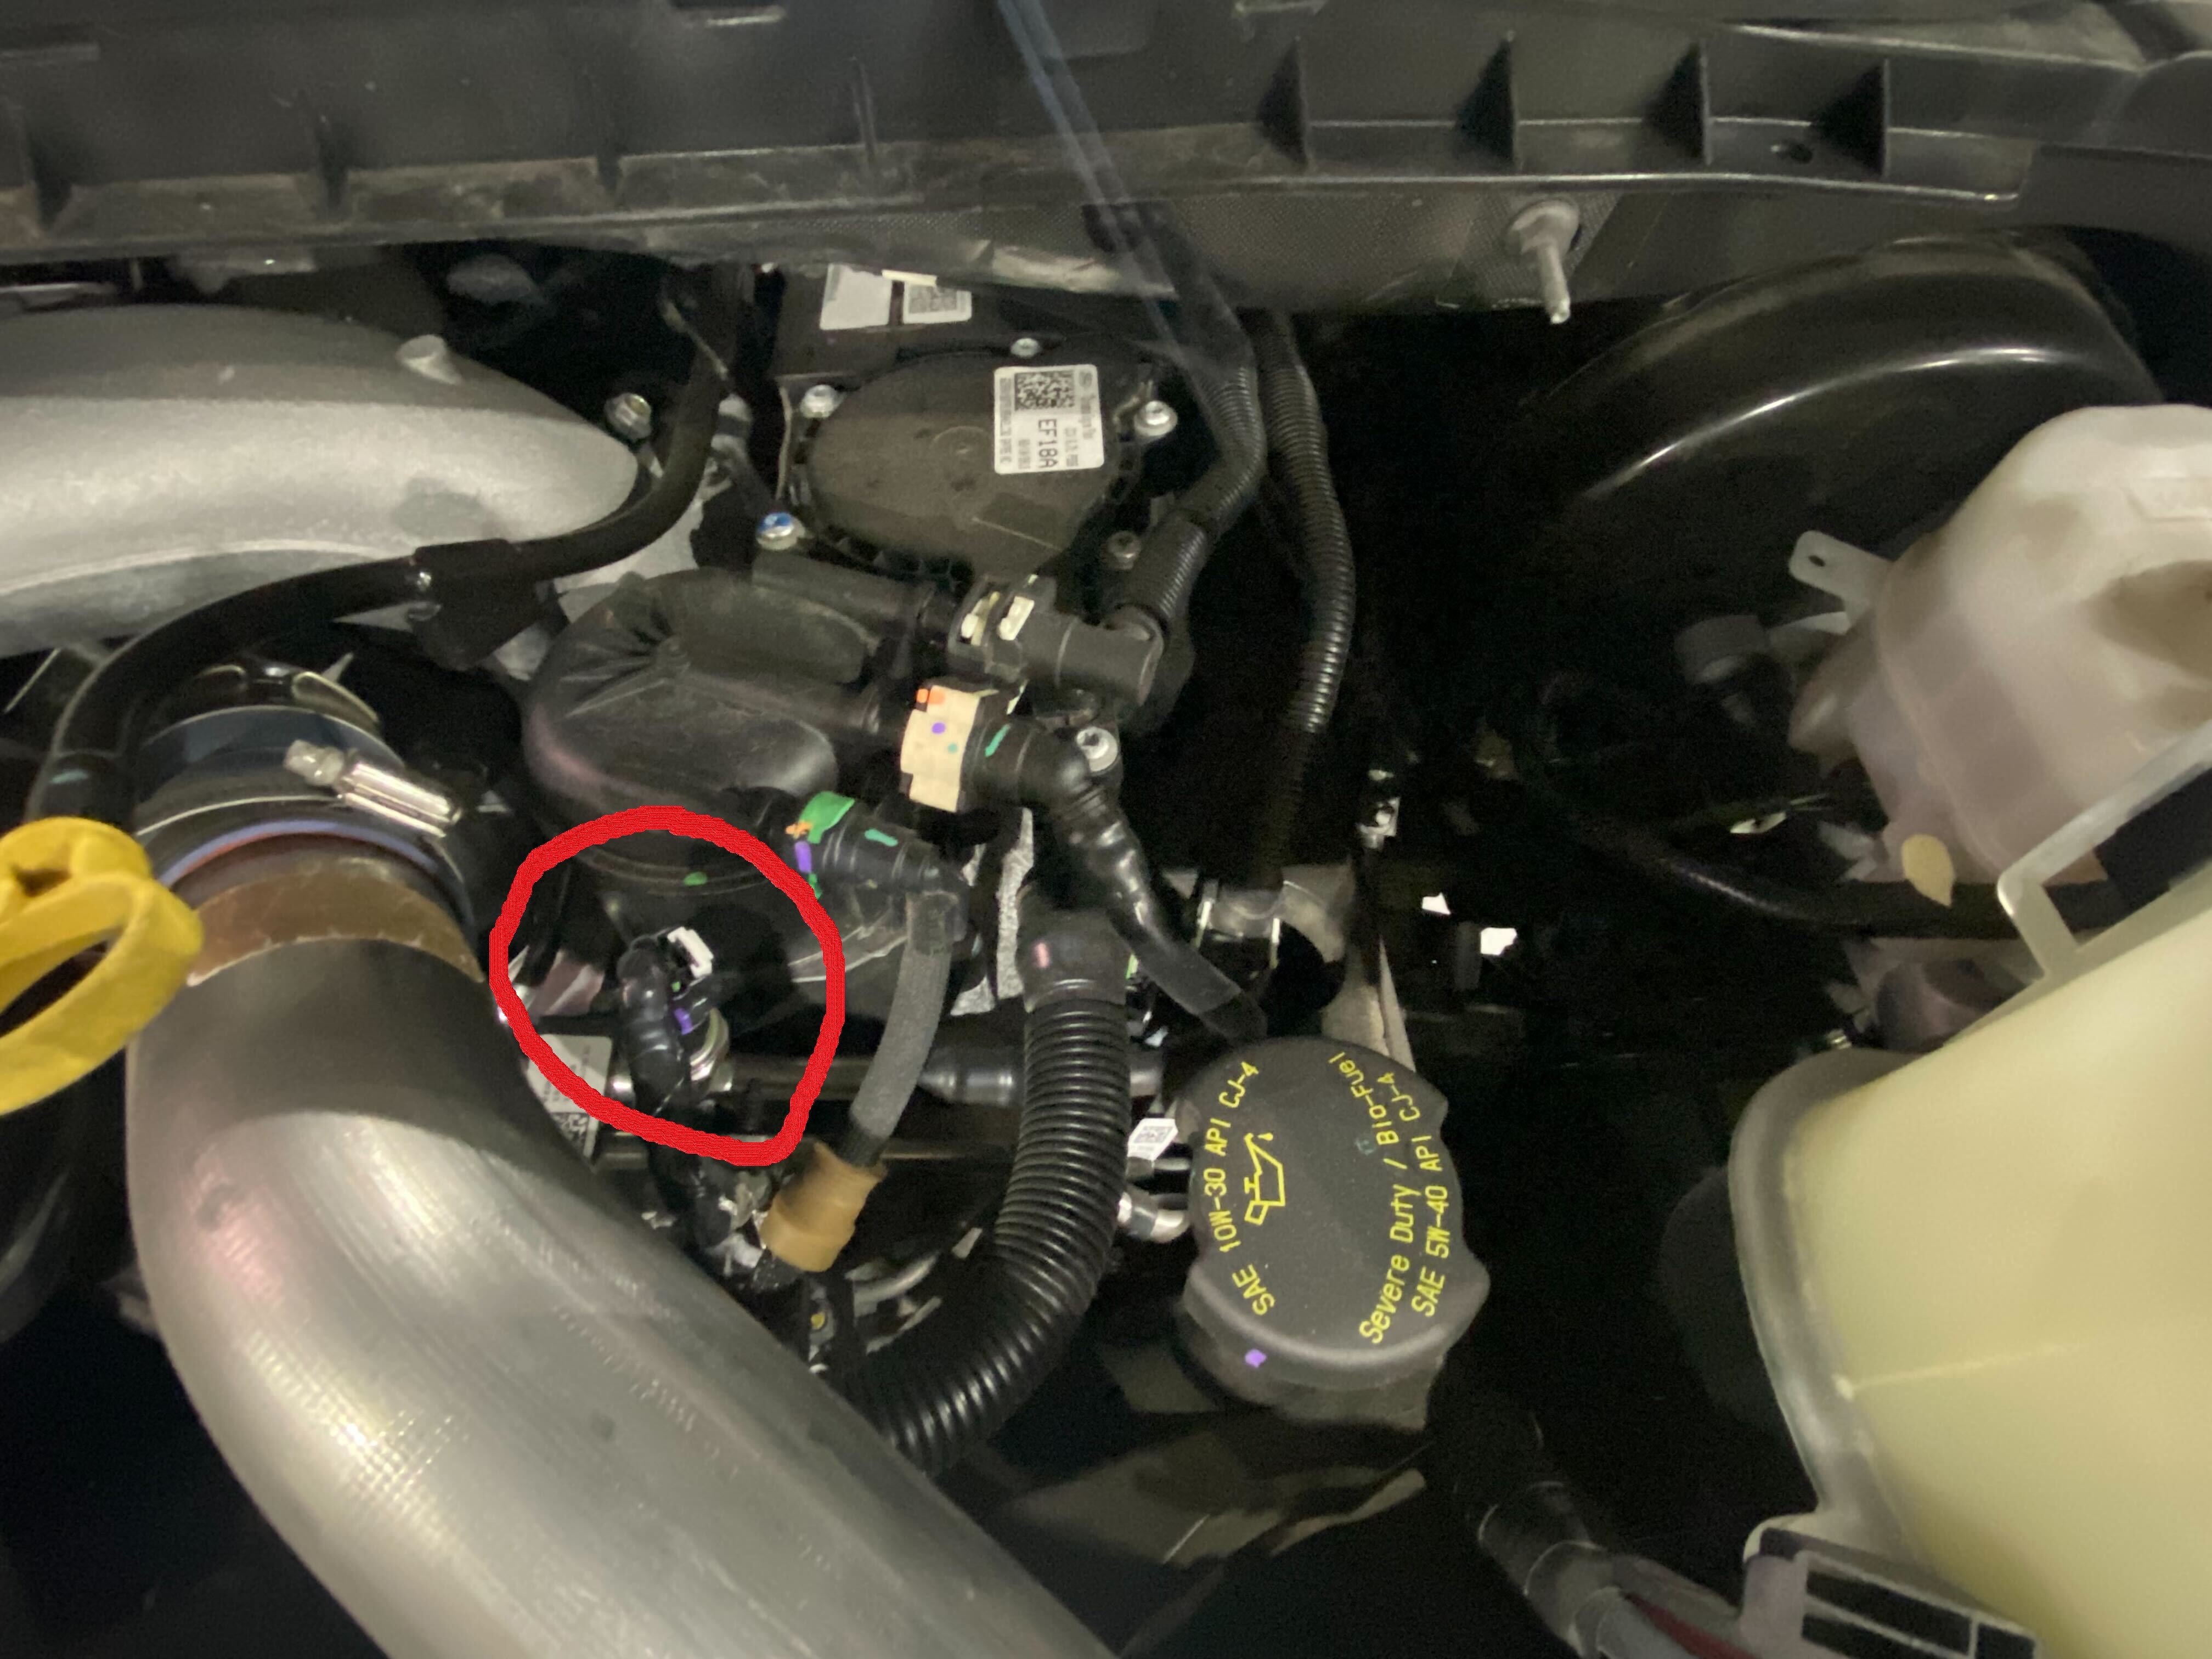
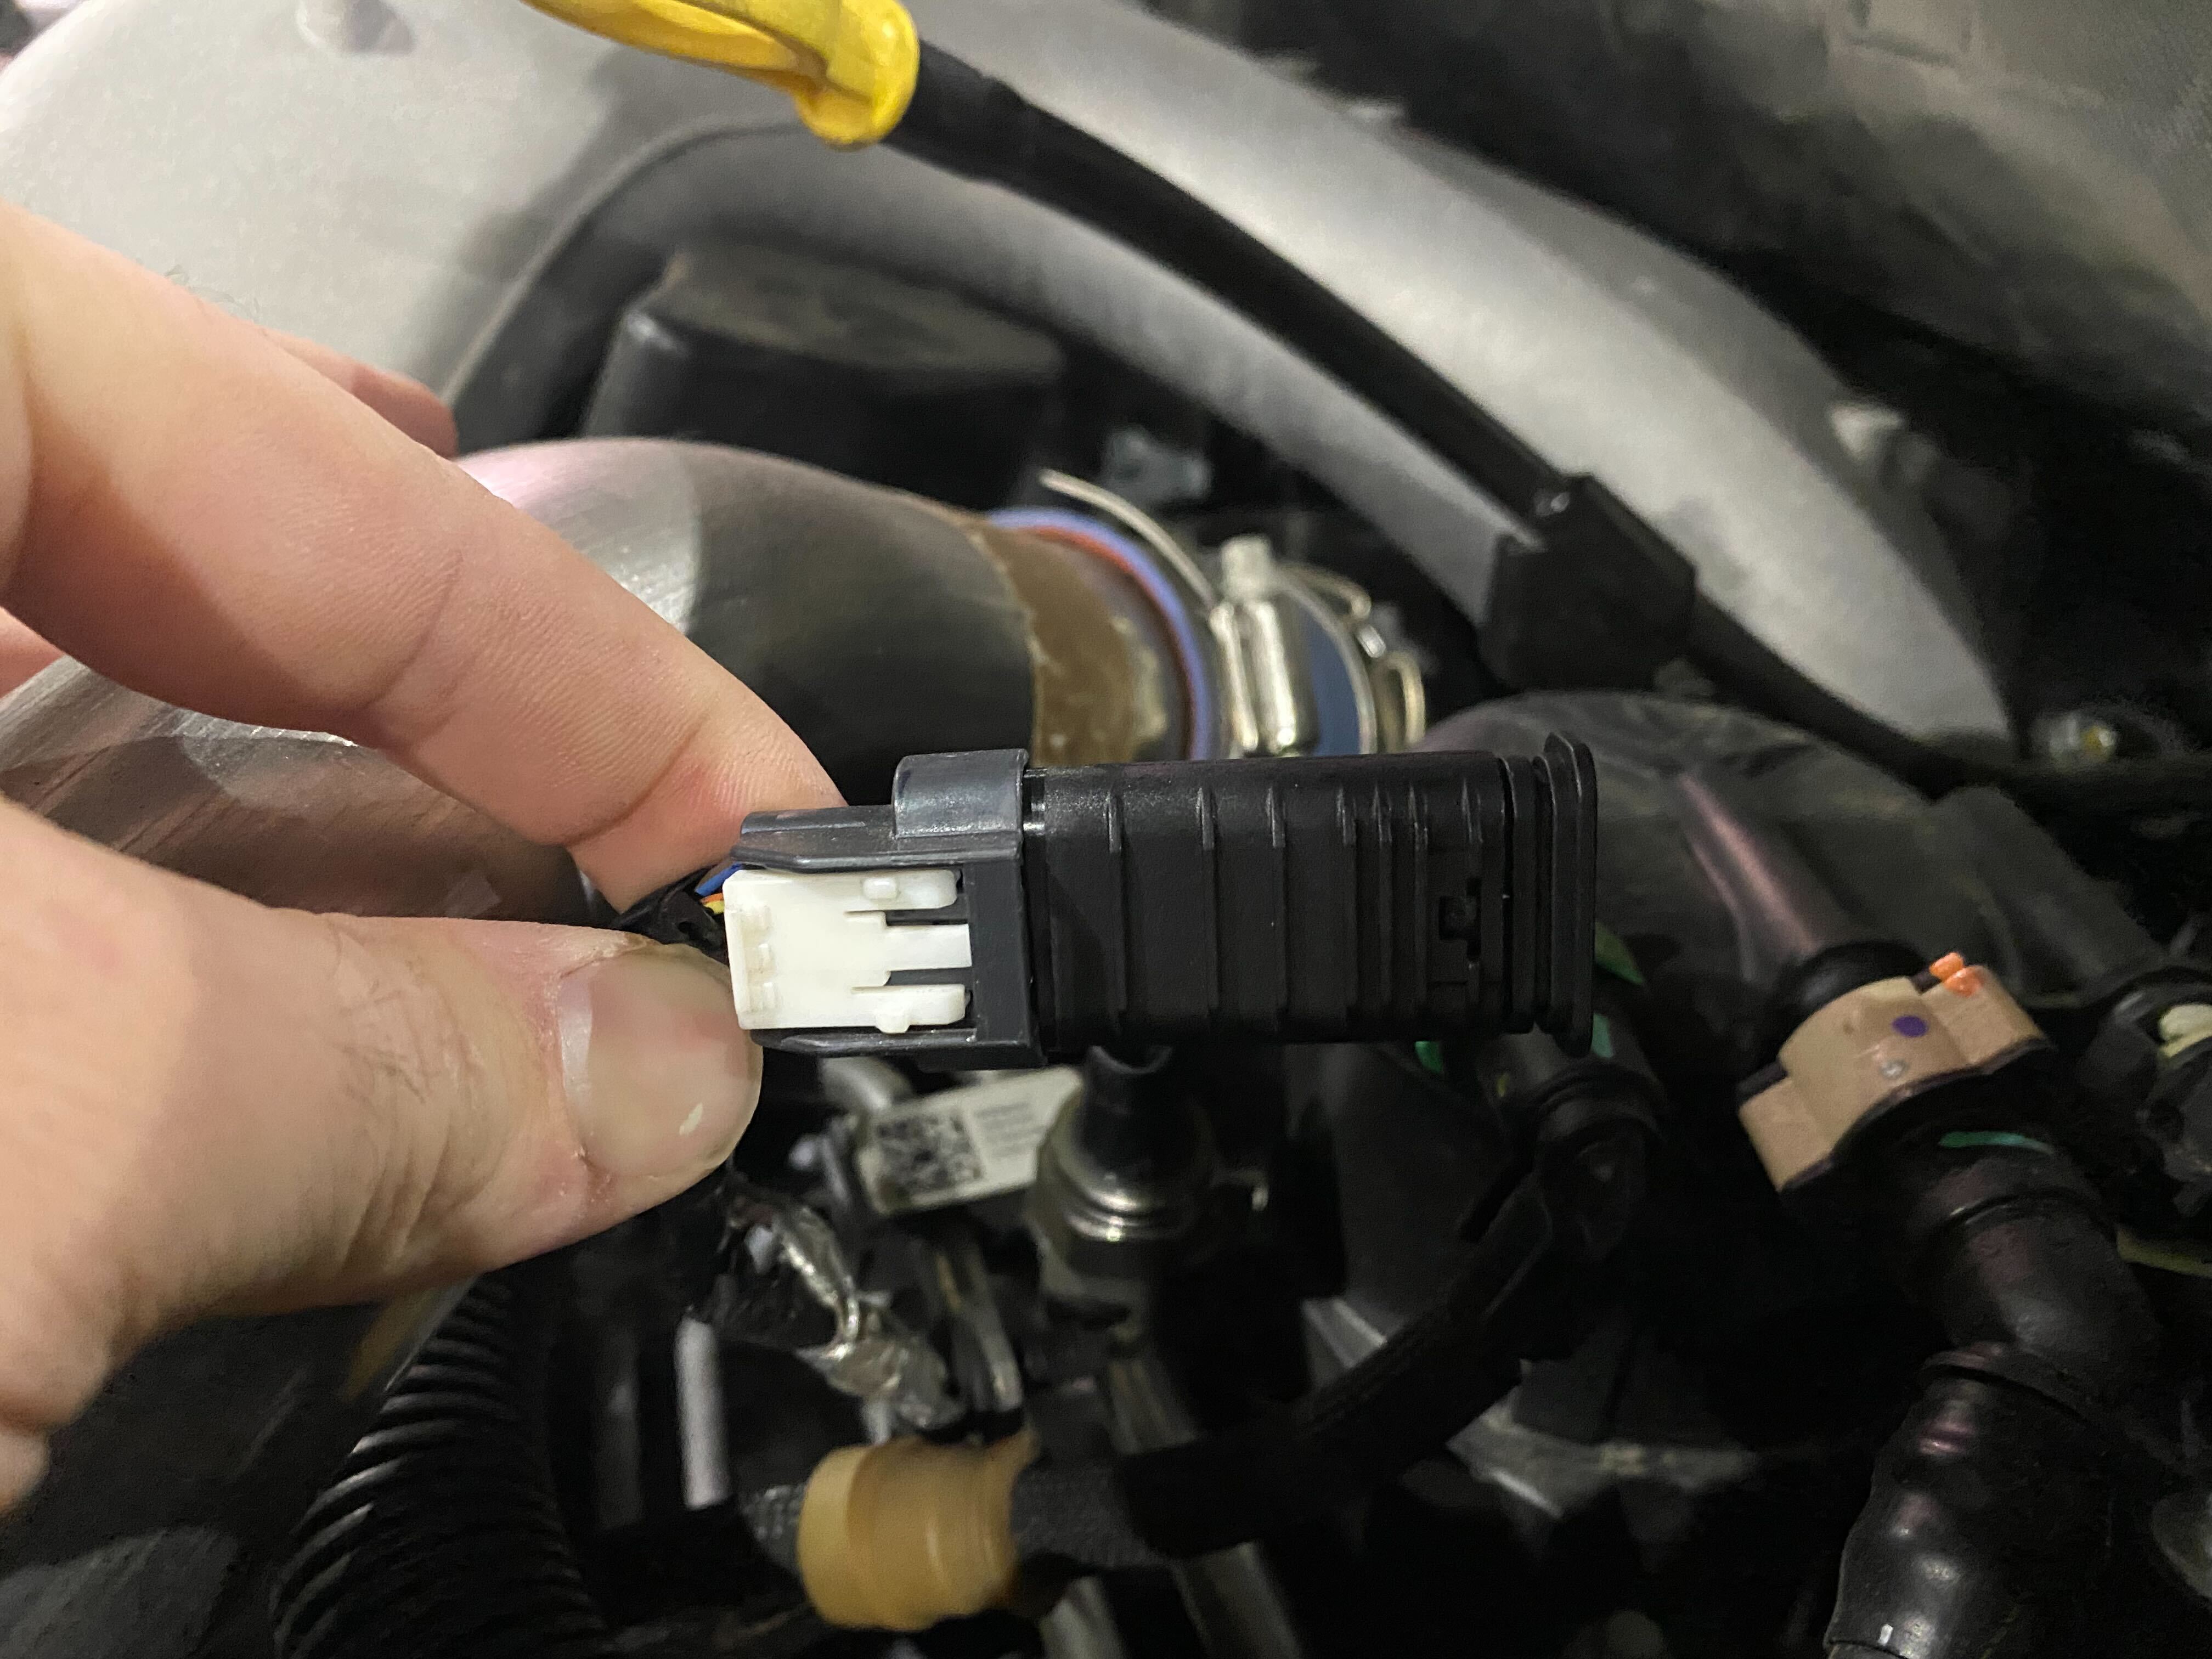
10. Once the switch has been pinned to the supplied connector, disconnect the factory harness from the fuel temp/pressure sensor.
11. Plug the new switch connector in the truck harness and tape off the factory sensor connector to prevent corrosion.
12. Secure the conduit and switch wired under the hood using zip ties.
If you have any further questions or didn't find an answer to the question you had in this article, click here and fill out the form and one of our Remote Support experts will be in contact with you.